Choosing the right electrical conduit for your application takes a lot of careful thought. There are many factors to consider, including material durability and cost efficiency. Conduit is an important part of any electrical system because it helps protect wires from damage and prevent them from coming into contact with other objects that could cause a fire or short circuit. In this article, we will explore the various types of conduit available as well as explain how to choose appropriate cable protection for your specific application.
Cable Protection – Flexible Conduit (FC)
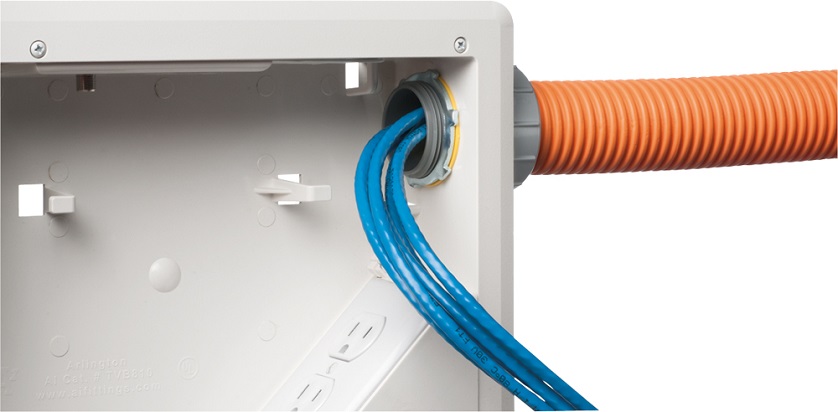
A flexible conduit, or FC, is used to protect wires and cables from physical damage and short circuits by providing an insulated tube through which the wires can be routed. This type of conduit comes in a variety of sizes and is made from metal or plastic.
Metal FC has been around for many years and remains popular due to its durability and cost efficiency. Metal FC can withstand high levels of heat and will not melt when exposed to electrical currents like some plastic varieties do. As a result, metal FC is ideal for use in locations where there is a high degree of heat or moisture. The metal also provides excellent grounding capabilities that help prevent electrical shorts from occurring.
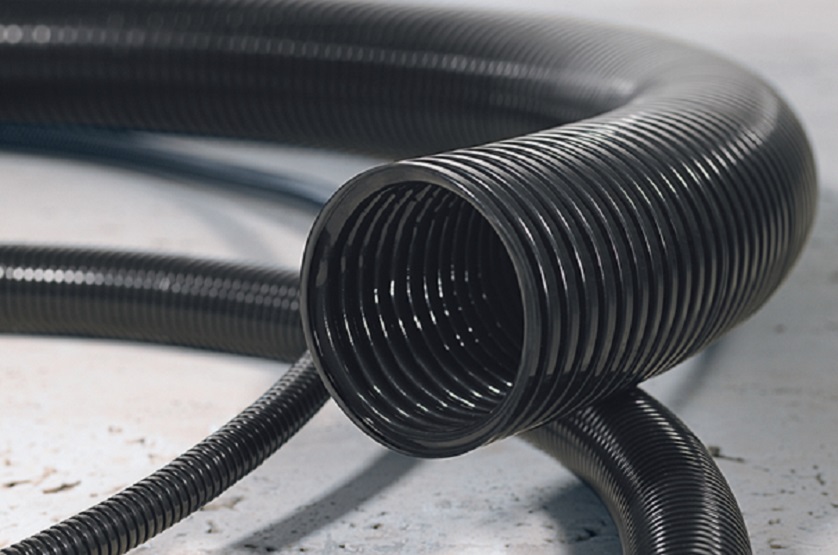
Metal FC comes in two main varieties: rigid and flexible, also known as a corrugated electrical conduit. A rigid conduit is made from solid steel and can be bent to fit in tight spaces, but due to its rigid nature, it cannot be easily moved once installed. A corrugated electrical conduit, on the other hand, is constructed from thin sheets of metal that are welded together around the wires being protected. This type of conduit is much more flexible than its rigid counterpart and can be easily routed through tight spaces.
FC comes in a wide variety of sizes, including: 1/2″, 3/4″, 1″, 1-1/4″, 1-1/2″, 2″, 3/8″ and 5/8″. Each size corresponds to the diameter of the wires that it can accommodate without overspreading them. The larger the wire being protected, the larger the conduit required. The most common size for use in residential wiring is 1/2″.
When installing FC, it is important to remember that wires should always be routed from the smallest end of the conduit to the largest. This will help prevent any damage to the wires due to overspreading. It is also important to ensure that there are no gaps between the wires and conduit, as this can create an opening through which moisture can enter. If you notice any gaps, immediately seal them with a high-quality silicone sealant.
FC is typically installed in walls, ceilings and other structures using special tools such as a conduit bender or hammer drill. These tools make it possible to bend the metal without compromising its durability. If you do not have access to these tools and are forced to use pliers or another tool, be sure that you do not overbend the conduit. Doing so will cause it to lose its shape and become brittle over time.
Installing Corrugated Electrical Fittings
The best way to install FC is by following the steps listed below:
1) Seal off all wires that are to be routed through the conduit with electrical tape. This will prevent them from accidentally being cut or pinched by the tools you are using.
2) Place the end of your flexible conduit into the opening on your hammer drill and tighten it down securely. If you don’t have a hammer drill, use pliers to hold onto the conduit while you bend it.
3) Use your conduit bender to make sharp bends in the metal as you work your way up to the desired location. Be sure that you are creating sharp bends so that they can easily be connected together later on in the process.
4) Once you have reached the desired location, remove all wires from the conduit and use pliers to tightly secure them in place with a bolt or screw.
5) Use your hammer drill again to make small holes into the wall where you will be installing your conduit. If you do not have access to a hammer drill, you can use a nail and hammer.
6) Insert the wires into their respective holes in the conduit and secure them with a bolt or screw as shown below. Be sure to keep track of which wire goes where so that you can connect them all together later on in the process.
7) Continue this process until all of your wires have been properly installed within the flexible conduit. It is important to ensure that there are no gaps between the wires and conduit at any point during this process.
8) Once all of your wires have been properly installed, use silicone sealant to seal any gaps between the wires and conduit. This will prevent water from entering into your electrical system and causing damage or short circuits.
9) Use your hammer drill again to create large holes through which you can route your wires. If you do not have access to a hammer drill, use a nail and hammer for this step.
10) Install all of the remaining wires into their respective holes and secure them with a bolt or screw as shown below. Be sure to keep track of which wire goes where so that you can connect them all together later on in the process.
11) Once all wires have been properly installed, use silicone sealant to seal any gaps between the wires and conduit. This will prevent water from entering into your electrical system and causing damage or short circuits.
12) Use a utility knife or other sharp object to cut off excess flexible conduit at the end of the wires. Be sure to leave at least 1/2″ of extra conduit so that it can be connected to another piece of FC in the future if necessary.