Nails are the extensions of our beauty and self-care. They are a way to express our style and personality. In the quest for the best nail extensions, we’ve all tried out everything from plastic and acrylic to hard gel and soft gel extensions. But if you’re one of those who want to experiment with different styles frequently, then acrylics or hard gel nail tips may not serve your best interest, because the removal part is not as straightforward.
A more flexible and affordable option among the pile is the quick-drying and long-lasting soft gel nail extension trend. This particular type is suitable for all generations and only requires a UV light to cure. It doesn’t take hours to apply, and it’s easier to remove compared to hard gel or acrylics.
Contents
What Is a Soft Nail Gel Extension?
The name is pretty explanatory itself. It’s a soft gel used to create nail extensions that can be applied to natural nails. They are high-quality extensions that feel pretty comfortable on the nail plate and are thinner than other types of nail extensions. They are transparent fake nails that need to be cured under a UV/LED lamp. Ideal for creating a natural look of the nails, without damaging them. They are easy to remove by soaking up the nails in acetone and can last anywhere from 2 to 4 weeks max.
What Is the Difference Between Soft Gel and Hard Gel Nail Extensions?
The question of ‘Is hard gel or soft gel better for nails?’ seems to linger in a lot of people’s minds. Although both gel extensions are good, however, there are some differences between the two that may prevail in choosing one or the other. But that’s not to say that one is better than the other. It all comes down to a personal preference.
The first difference between soft and hard nail gel is the removal process. The hard gel can only be removed by filing the nail extensions, while the soft gel can be removed with acetone. To remove the soft gel, first, file the bulk of the gel extension and then soak the nails in acetone for about 15 minutes. The removal process is one of the reasons many women prefer the soft gel nail extension trend.
Hard gel is much stronger than soft gel and it’s more similar to acrylics. The strong and sturdy consistency allows greater versatility in shaping the nails. You can create long extensions without the risk of breakage or softening of the nail extension and you can sculpt out different shapes. Soft gel, on the other hand, is much more flexible and is ideal for those who want more natural-looking nails. Soft gel is great for those who want short to medium-length nails, but it’s not suitable for long extensions because the nail tip will soften up and lose its shape.
Lastly, when it comes to durability, both soft and hard gel can last a good 3 to 4 weeks if properly applied and cared for. When taken care of properly, gel extensions will have the same durability and strength as natural ones, with the added bonus of being more resistant to chips and breaks. But the key here is proper application and maintenance, if there’s too much glue used or the nail extension is not properly sealed, then it’s more prone to lifting and breaking.
Can Soft Gel Extensions Damage My Nails?
Soft gel is gentler on the nail plate than hard gel and its composition is not harmful or damaging to the nail plate. Most of the damage occurs during the removal, if not done properly. Additionally, soft gel nail extensions are a better alternative for those who have weak and soft nails because the soft composition will not add unnecessary weight to the natural nail.
If you’re afraid of removing the soft gel extensions by yourself, you can always go to a professional. But if you carefully follow the instructions for proper removal at home, there shouldn’t be any problem. You won’t feel any pain during soft gel removal, but it might take some time for your natural nails to fully recover and regain their strength.
Step-by-step: How To Do Soft Gel Extensions At Home
Soft gel nail extensions are quite easy to do at home. The application does not require having professional skills, anybody can learn how to do it. The process is straightforward and here’s how to do it at home, like a pro.
Step 1. Push Back The Cuticles
First and foremost, you need to create a smooth base for the soft gel application. Also, by pushing back the cuticles you make your nail bed appear longer and promote a healthy growth of your nails. You can use a cuticle pusher or an orange stick to do this, just be gentle and don’t push too hard.
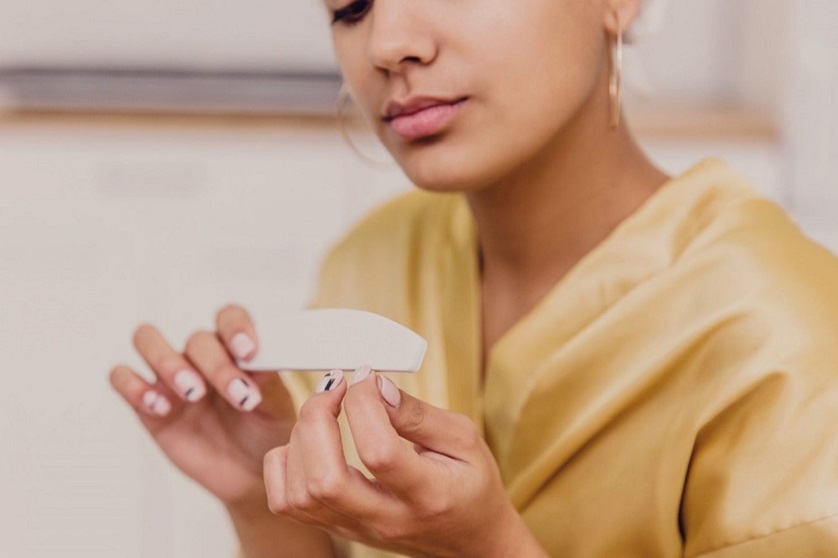
Step 2. Size The Nail Extensions
Before going ahead with the next steps of the application, carefully size the soft gel tip and make sure the tips you choose fit perfectly from side wall to side wall of the nail. Ideally, the nail tips should have a curved area at the cuticle so it lays nice and even. This will prevent any unnecessary trimming or filing later on, in addition to creating a more natural look.
Step 3. Dehydrate The Nails
An important part of the soft gel application is to dehydrate the nails by using a nail dehydrator. This is done to remove any dirt or oils from your natural nails to create a clean and polished look. Apply the dehydrator to the whole nail bed and let it dry. When you do this, you’re essentially making sure that the gel adheres better to the surface and doesn’t lift.
Step 4. Apply Nail Primer
Next, apply two coats of nail primer. This will help the soft gel extensions stick very well and ensure the longevity of the gel nail tips. For maximum results, you can also apply the primer to the inside shell of the nail extension. In this case, one coat of nail primer is sufficient.
Step 5. Apply a Nail Builder
To additionally help the gel tips stick even better, apply a gel builder on your nails. Apply only a thin coat of the builder and then cure it under a UV/LED lamp for 60 seconds. The nail builder ensures a stronghold of the gel extensions. When there’s a sturdy foundation, the extension will not budge or fall off easily and you’ll be able to enjoy your beautiful nails for a longer time.
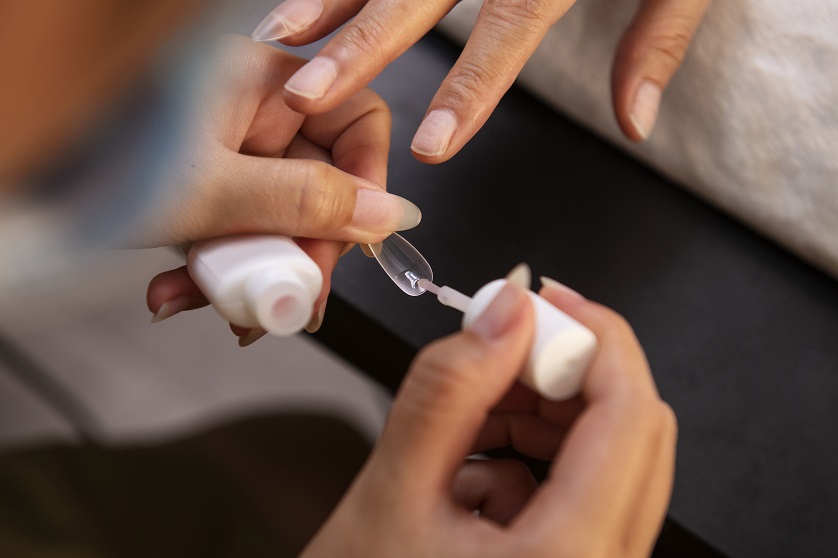
Step 6. Adhere The Gel Tips With Nail Gel Glue
Use a nail gel glue to adhere the soft gel extensions to the nails. The gel glue has a thicker consistency, similar to that of a builder gel. Apply the gel glue to the inner side of the extension, going over the entire surface and make sure to leave a bit of dollop at the cuticle area of the extension. Place carefully the soft gel tip on the nail and hold firmly. Right after that, cure under UV/LED lamp for about 15 seconds.
Step 7. Apply Gel Top Coat
Apply a gel top coat as a finishing touch to the gel extensions. The top coat seals the freshly manicured nails and protects the gel tips from chips and cracks. It can also enhance the finishing look and increase the shine of your nails, which ultimately lasts longer than the standard top coat.


